Installing Feisty in VMware
The main goal of installing VMware of course is installing Feisty in VMware. Installing other operating systems in VMware doesn’t differ from the method described below, so go ahead and try! There’s also help available here.
Getting the ISO
We need the Feisty iso image first, so download it from here (by the time of writing it’s “Herd 4”, I installed “Herd 3”).
Creating an new virtual machine
Now it’s time to create a new virtual machine (vm). Start VMware server console (“Applications -> System Tools -> VMware Server Console”) and click “Create new virtual machine”. Select “Custom”, “Version -> Ubuntu”. You may then choose a name for you new vm. Then, leave the defaults except:
- Memory: 512MB (depending on your system’s physical RAM…)
- Network Connection: “NAT”
- VirtualDisk type: “IDE”
After clicking “Finish” the new virtual disk will be created, this may take some time depending on the selected size (8GB should be OK).
So, what have we done by now? The above steps created a new “virtual hardware” with CPU, BIOS, hard disk, video card etc. What’s left to do is “filling” this vm with Ubuntu as OS.
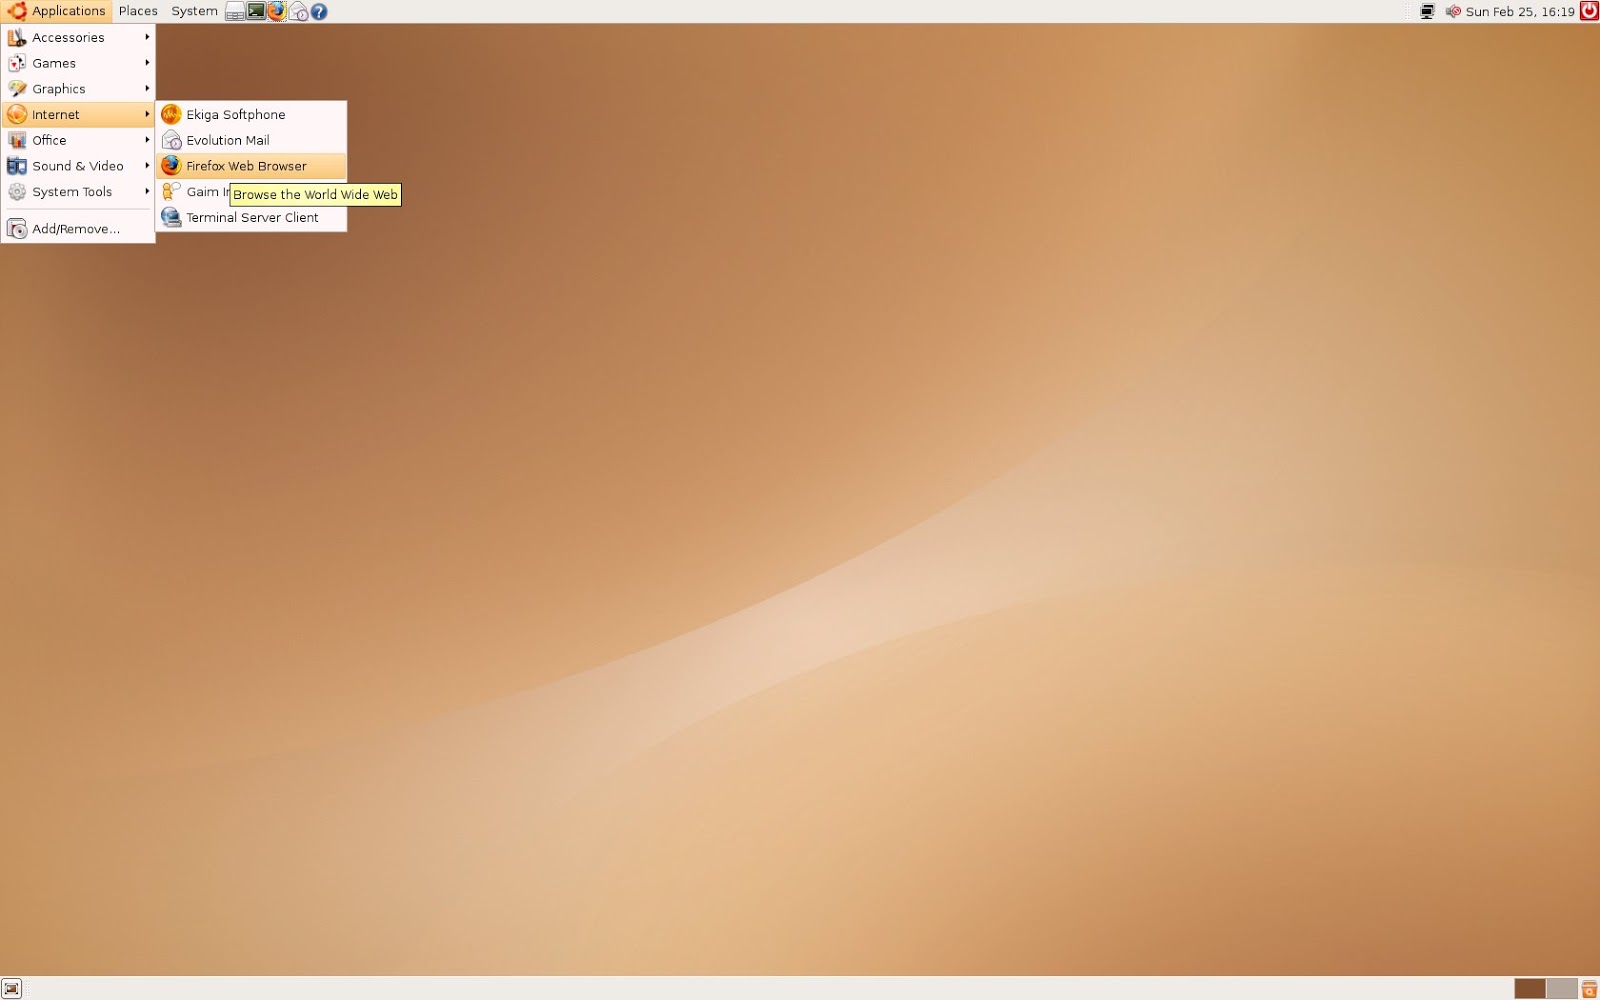
Installing Feisty Fawn
We need to “insert” the downloaded Feisty iso image in the virtual CD-Rom drive: click on “Edit virtual machine settings”, select “CD ROM”, choose “Use ISO image” and enter the path to the downloaded Feisty iso file. Now “Power on this virtual machine”. If it doesn’t boot into Feisty, simply restart it an be quick to click into the vm window (then your input devices like mouse and keyboard will control the vm) and hit “F2” to enter vm’s BIOS. This is just like a “normal” BIOS setup, so go to “Boot” and change the boot order to “CD-ROM, hard disk”. Press “F10” to save the changes. (To make your input devices control the host OS again press “Crtl + Alt”.) Now the Ubuntu boot screen should show up and your ready to start the Live-CD!
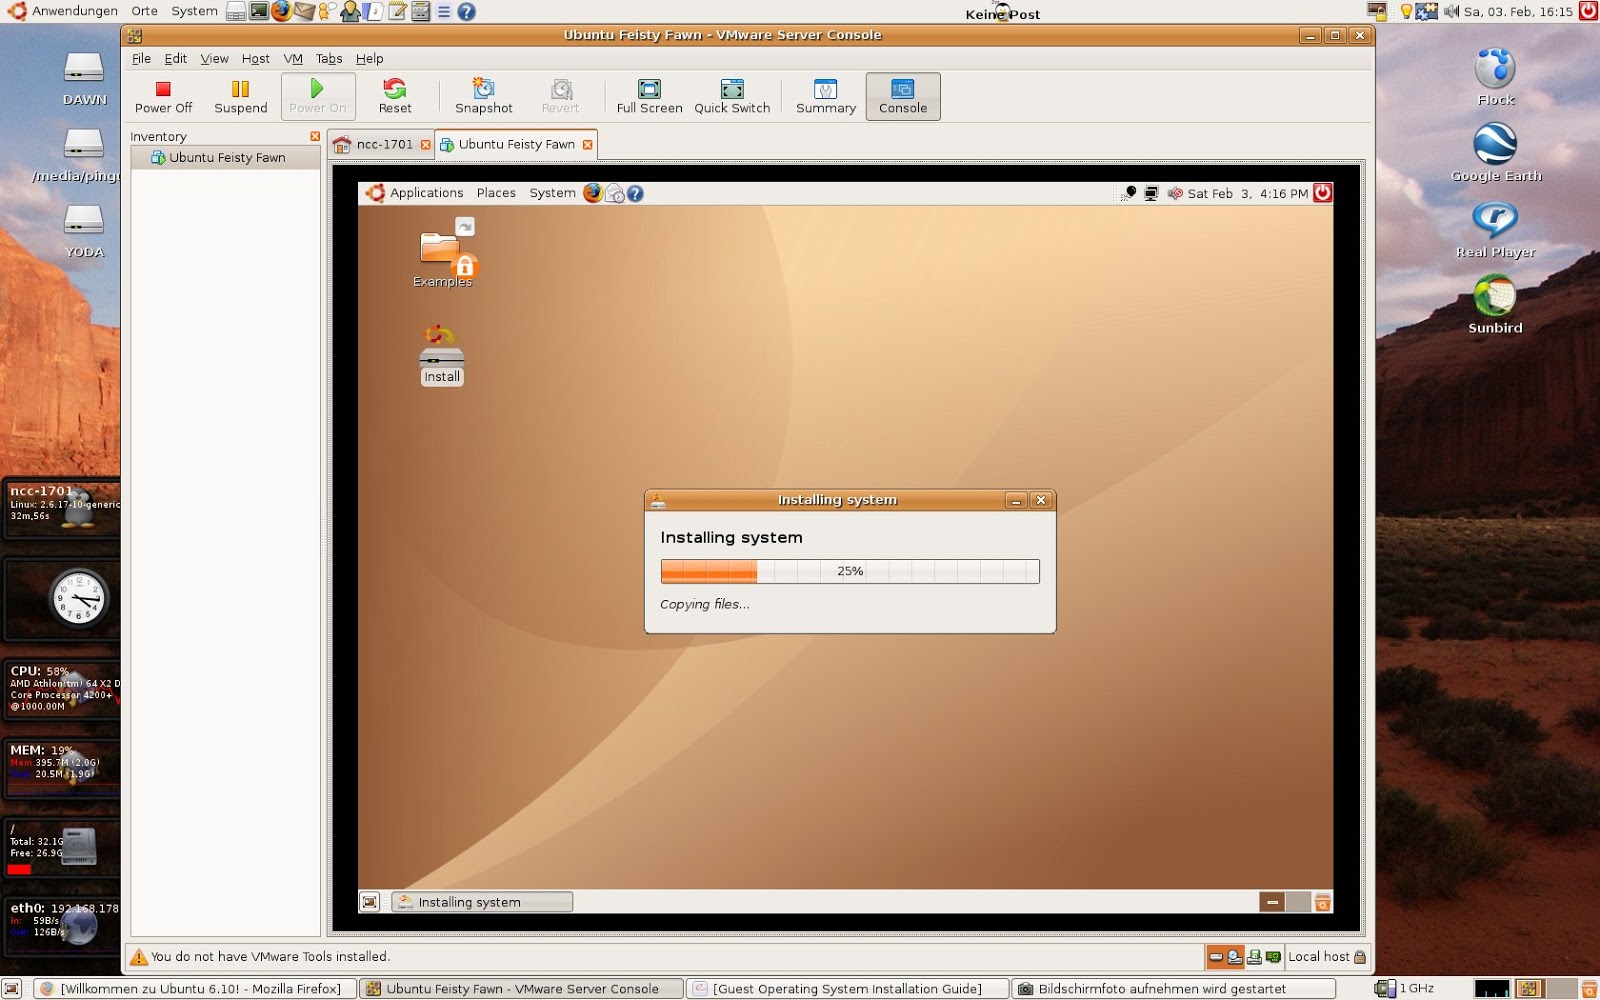
What now follows is an “ordinary” Ubuntu Desktop installation. Click on “Install” and answer the few simple questions. You may choose the entire hard disk for the installation - remember: it’s only the virtual disk. After reboot, be quick again pressing “F2” to alter the boot sequence in BIOS setup - you want to boot from hard disk now!
VMware tools
First thing you should do after reboot: update! Feisty is under heavy development and there are plenty of updates almost every day. You can do so by using update-manager in Gnome control center or in a terminal:
1
2
$ sudo apt-get update
$ sudo apt-get dist-upgrade
Maybe a reboot is a good idea after that. Now for the tricky part… There seems to be a bug in Ubuntu running in VMware that prevents from automatically mounting the VMware tools packages. But no need to worry, there’s a workaround. VMware-tools are not required but recommend and without them I had difficulties in changing the screen resolution to 1680x1050.
Like with any other guest OS, just click on “VM -> Install VMware Tools…” and you should see a new window with the appropriate VMware tools package for your guest OS. Using Feisty, you may need a little trick:
Again, edit the CD-ROM settings for your vm: “Use ISO image” and point it to /usr/lib/vmware/isoimages/linux.iso. Within your Feisty vm, open a terminal:
1
$ sudo mount /dev/cdrom /mnt
Then copy the tar.gz package to a temporary folder and unpack it:
1
2
3
$ cp /mnt/VMwareTools-1.0.1-29996.tar.gz /tmp
$ cd /tmp
$ tar xfv VMwareTools-1.0.1-29996.tar.gz
Now we need to install some packages and invoke the installer:
1
2
3
$ sudo apt-get install build-essential
$ cd /tmp/vmware-tools-distrib
$ sudo ./vmware-install.pl
Keep the default answer for all questions (don’t worry if there are some compiling errors, you won’t need those modules - I didn’t figure out how to resolve this issue) and choose your favorite screen resolution. Now reboot and you’re done!